Web-Based 3D Scene: React rendering
Introduction
In this tutorial, we'll explore how to render a 3D scene of a room and interact with in React.
We'll be leveraging two powerful React libraries:
- @react-three/fiber: A React renderer for Three.js. This library allows you to work with Three.js in the React way, ensuring smooth integration and simpler code patterns.
- @react-three/drei: A collection of reusable
components, helpers, and primitives to speed up your Three.js projects in React. It complements
@react-three/fiberby providing a set of higher-level tools and additions, further easing the development process.
Before we dive in lets takea look at the final result:
Feel free to toggle the hanging lamp between light and dark mode, or rotate the scene with your mouse by clicking and dragging the scene.
Prerequisites and Libraries
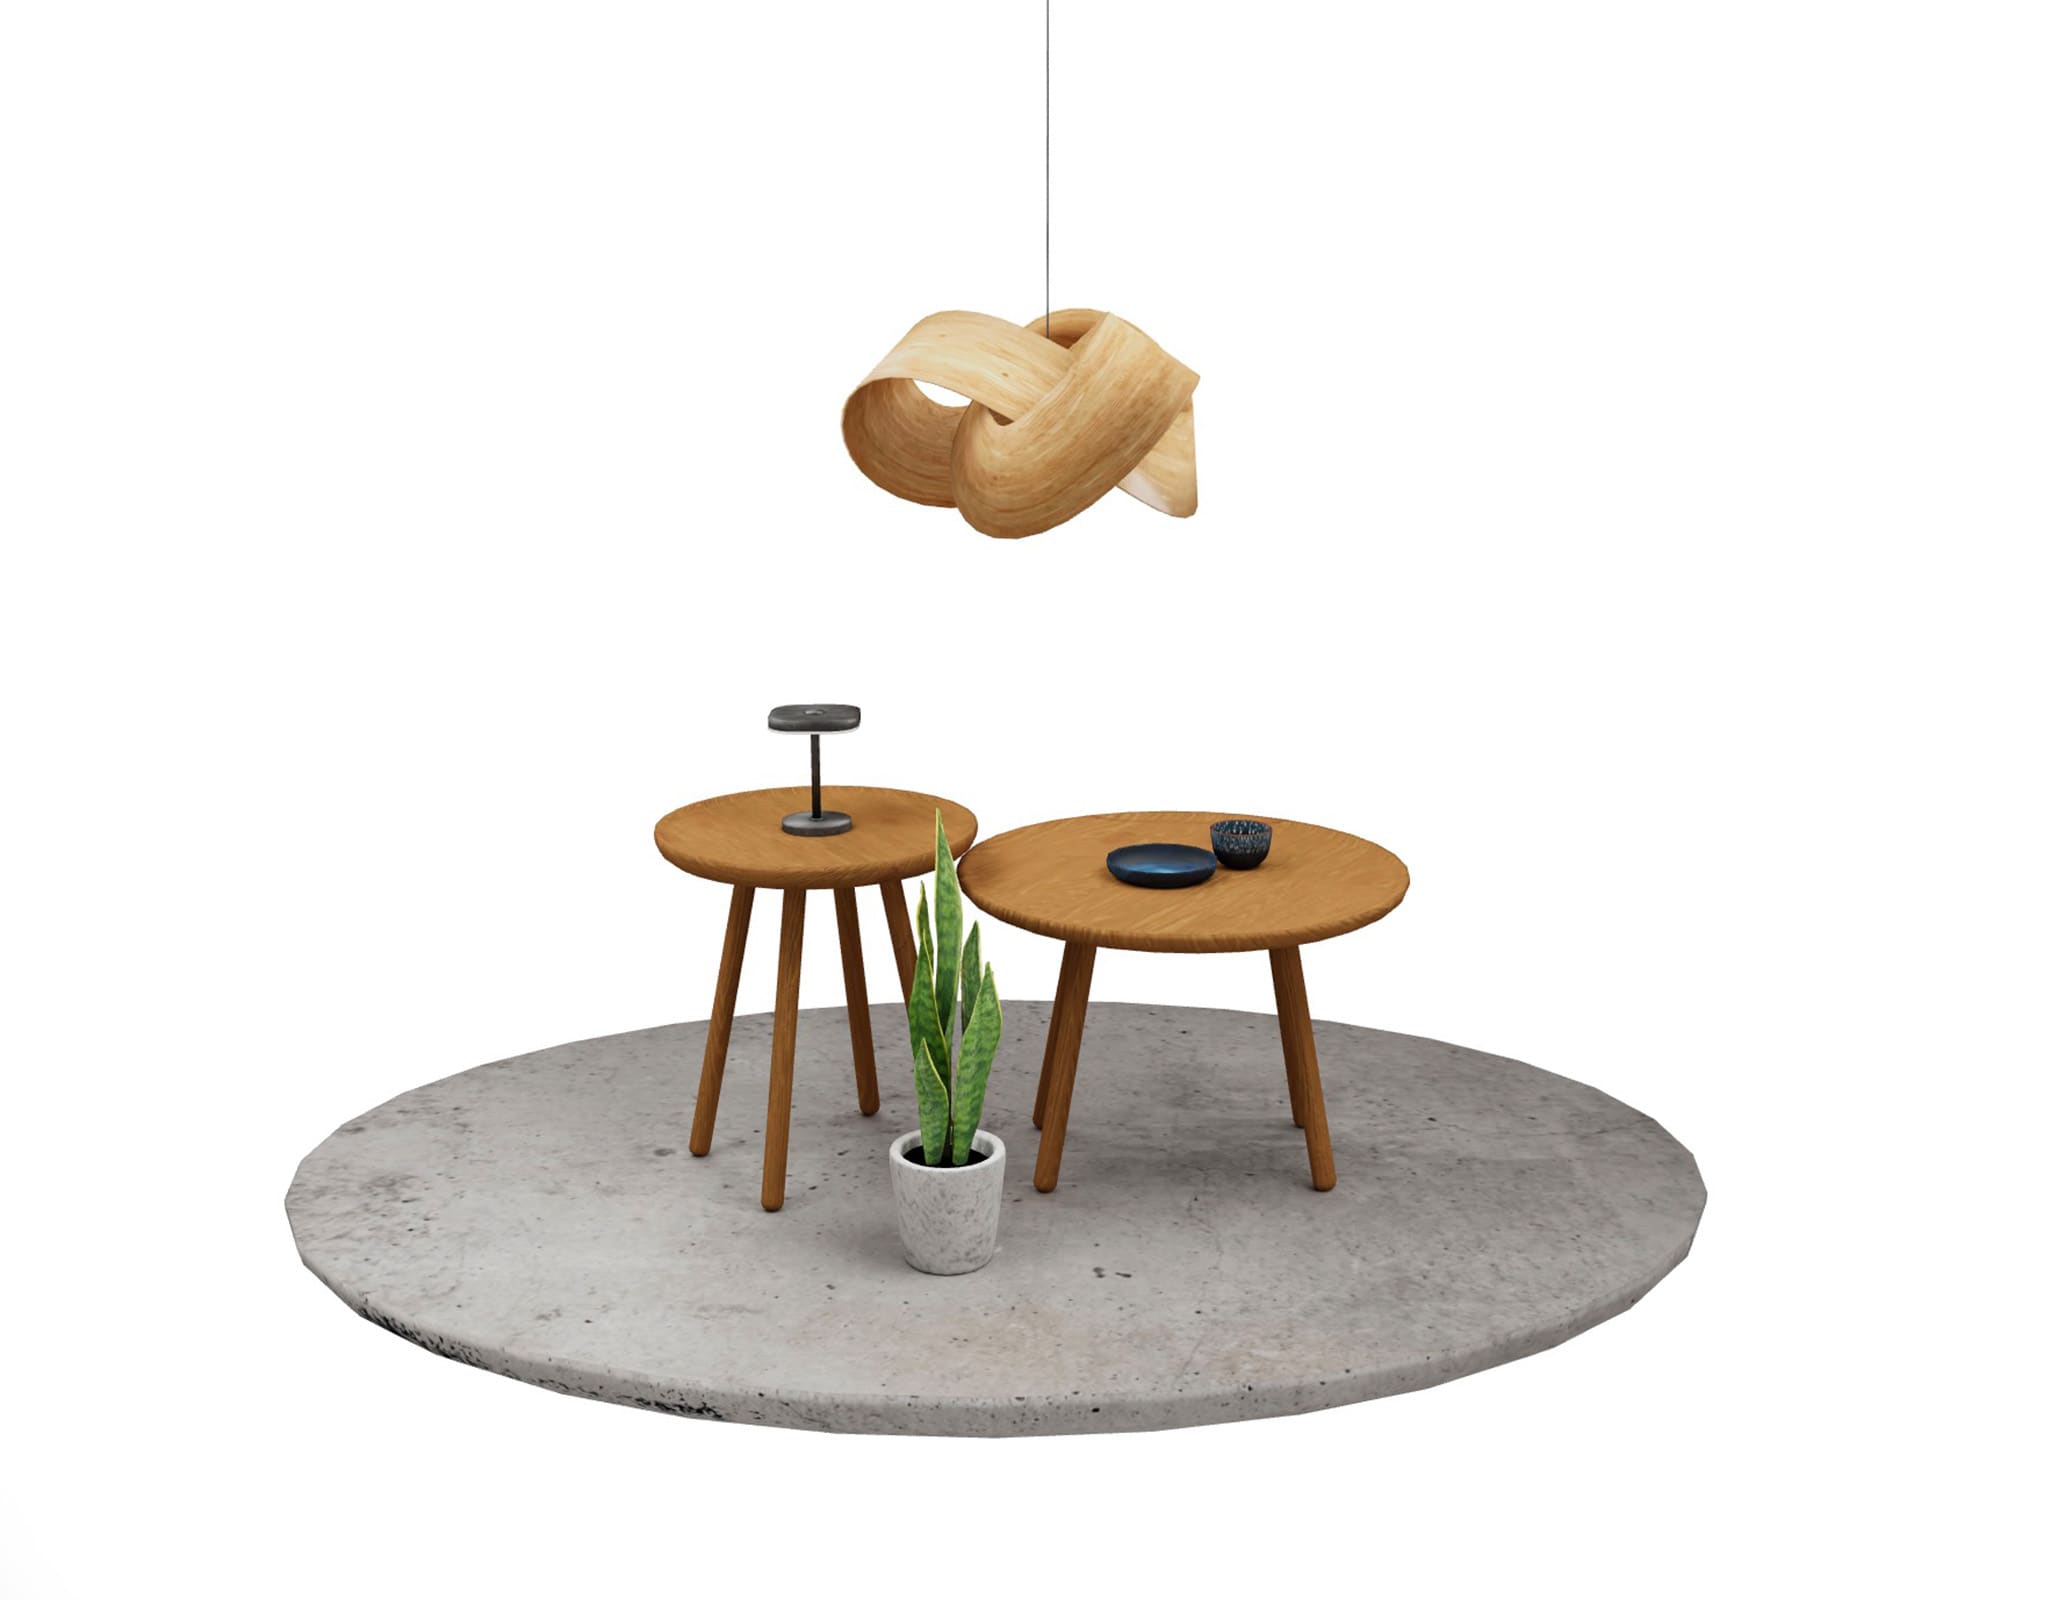
I've prepared a relatively simple 3D scene of a room using Blender which I then exported to glTF format. The zip file provided below contains the glTF file and two distinct textures — one for light mode and the other for dark mode:
Setting Up the Basic Scene
Lets start off by rendering a basic cube using react-three/fiber. To achieve this we can use the
canvas component from the react-three-fiber library. Unlike in traditional threejs app canvas
component takes care of couple things for us:
- settingup the scene and the camera
- re-rendering the scene on every frame
- automatically resizing the scene to fit parent container and update on resize
To render a simple cube we can use a mesh and boxGeometry components. Lower case components
directly corespond to threejs classes which in our case would be
THREE.Mesh and
THREE.BoxGeometry.
You can read more about this example on the official react-three-fiber documentation page.
With our basic scene in place, let's move on to loading provided 3d model and textures which would replace the cube.
Loading the Model and Textures
To load our scene we can utilize the useGLTF and useTexture hooks from the @react-three/drei
library.
1import { Canvas } from "@react-three/fiber";2import { useGLTF, useTexture } from "@react-three/drei";34function Scene() {5 const { nodes, cameras } = useGLTF(ModelUrl);6 const texture =useTexture(LightTextureUrl);7 const { Main, Lamp, Plant } = nodes;8 const meshes = [Main, Lamp,Plant];9 return (10 <>11 {meshes.map((mesh) => (12 <mesh13 geometry={mesh.geometry}14 rotation={mesh.rotation}15 position={mesh.position}16 >17 <meshBasicMaterial map={texture} map-flipY={false} />18 </mesh>19 ))}20 </>21 );22}2324// ...2526
Notice the nodes object from the useGLTF hook is destructure it into Main, Lamp, and Plant
variables. I specifically named those meshes this way in blender during the modeling process to
ensure easy identification in our project. While merging meshes can enhance performance, I chose to
separate certain ones, making it more convenient to apply interactions and animations.
Make sure to you replace ModelUrl and LightTextureUrl with the appropriate URLs.
Adjusting the Camera
If the scene seems distant, it's due to the default camera position. We can improve it by either manually settingup a camera or integrating the camera from the glTF file:
1import { Canvas, useThree } from "@react-three/fiber";2import { useGLTF, useTexture } from "@react-three/drei";34function Scene() {5 const set = useThree((state) => state.set);67 const { nodes, cameras } = useGLTF(ModelUrl);8 const texture = useTexture(LightTextureUrl);9 const { Main, Lamp, Plant } = nodes;10 const meshes = [Main, Lamp, Plant];1112 set({ camera: cameras[0] });13 return (14 <>15 {/* ... */}16 </>17 );18}1920// ...21
Taking it one step further. We can laverage react-three/drei and make your scene more dynamic by
enabling the camera to follow mouse movements using the OrbitControls. Its one of many usefull
components provided by the drei library that can be used to interact with the scene or a camera.
You can explore various settings and controls on the official drei
documentation page or in the three js
docs which is what drei is relying
on
1// ...2import {OrbitControls} from '@react-three/drei';3import {Vector3} from 'three';45function CameraControls() {6 const lookAt = new Vector3(0, 0.7, 0);78 return (9 <>10 <OrbitControls11 target={lookAt}12 maxPolarAngle={1.7}13 minPolarAngle={1}14 minAzimuthAngle={-0.7}15 maxAzimuthAngle={0.7}16 rotateSpeed={0.2}17 enableZoom={false}18 dampingFactor={0.02}19 enablePan={false}20 enableDamping21 enableRotate22 />23 </>24 );25}2627function Scene() {28 const set = useThree((state) => state.set);2930 const { nodes, cameras } = useGLTF(ModelUrl);31 const texture = useTexture(LightTextureUrl);32 const { Main, Lamp, Plant } = nodes;33 const meshes = [Main, Lamp, Plant];3435 set({ camera: cameras[0] });36 return (37 <>38 <CameraControls/>39 {/* ... */}40 </>41 );42}4344// ...45
Lets review all the changes we've made so far. For clarity, I've refactored some components into separate files:
Implementing Dark Mode
Every modern UI needs a dark mode so lets add it to our scene! One effective way to achieve this dark/light mode toggle is by baking textures under two distinct lighting conditions. By creating separate textures for each mode, we can simply swap between them to achieve the desired theme effect.
Lets start by implementing the theme state in App.js file:
1import { Canvas, useThree } from "@react-three/fiber";2import Scene from "./Scene";34export default function App() {5 const [theme, setTheme] = useState('dark');6 const toggleTheme = () => setTheme(theme === 'dark' ? 'light' : 'dark');78 return (9 <div id="app">10 <Canvas>11 <Scene toggleTheme={toggleTheme} theme={theme} />12 </Canvas>13 </div>14 );15}16
Next, modify the scene to utilize our theme state:
1/* ... */23export default function Scene({ theme, toggleTheme }) {4 const { nodes, cameras } = useGLTF(ModelUrl);5 const texureUrl = theme === "dark" ? DarkTextureUrl : LightTextureUrl;6 const texture = useTexture(texureUrl);7 const { Main, Lamp, Plant } = nodes;8 const meshes = [Main, Lamp, Plant];910 return (11 <>12 {/* ... */}13 </>14 );15}1617
Now we need a way to toggle the theme. You could build some UI for it, but a cooler way would be to
toggle the theme by interacting with the scene. Lets make the lamp clickable and toggle the theme
when its clicked. Thanks to react-three-fiber, it's as simple as adding an onClick prop to the
mesh element:
1export default function Mesh({mesh, texture, onClick}) {2 return (3 <mesh4 onClick={onClick}5 geometry={mesh.geometry}6 rotation={mesh.rotation}7 position={mesh.position}8 >9 <meshBasicMaterial map={texture} map-flipY={false} />10 </mesh>11 );12}13
Lets now change the way we render scene elements so we can append the onClick prop only to the
lamp:
1/* ... */23export default function Scene({ theme, toggleTheme }) {4 const { nodes, cameras } = useGLTF(ModelUrl);5 const texureUrl = theme === "dark" ? DarkTextureUrl : LightTextureUrl;6 const texture = useTexture(texureUrl);7 const { Main, Lamp, Plant } = nodes;8 const meshes = [Main, Lamp, Plant];910 return (11 <>12 <CameraControls camera={cameras[0]}/>13 {meshes.map((mesh) => (<Mesh key={mesh.uuid} mesh={mesh} texture={texture} />))}14 <Mesh onClick={toggleTheme} mesh={Lamp} texture={texture} />15 <Mesh mesh={Plant} texture={texture} />16 <Mesh mesh={Main} texture={texture} />17 </>18 );19}2021
To impove the look of the scene we can also change background color depending on the theme:
1import { Canvas, useThree } from "@react-three/fiber";2import Scene from "./Scene";34export default function App() {5 const [theme, setTheme] = useState('dark');6 const toggleTheme = () => setTheme(theme === 'dark' ? 'light' : 'dark');78 return (9 <div id="app" style={{background: theme === 'dark' ? 'black' : 'white'}}>10 <Canvas>11 <Scene toggleTheme={toggleTheme} theme={theme} />12 </Canvas>13 </div>14 );15}16
You might notice that when you click the lamp it takes a while for the theme to change. Thats
because the texture needs to be loaded first which can take a second depending on your connection.
We can fix that by using the useTexture.preload function from the drei library which preloads both
textures making sure they're available when needed.
1import {useTexture} from '@react-three/drei';23useTexture.preload(DarkTextureUrl);4useTexture.preload(LightTextureUrl);56
Final Result
Here's the compiled version of our interactive 3D scene:
I hope you've learned something from this tutorial. Please reach out if you have any feedback or questions!